Ultimate Beginner’s Guide to ClickUp: Get Started
18 Feb 2025

5 Tips for ClickUp Beginners to help get you started with the app quickly and efficiently. Crafted by ClickUp expert Layla from ProcessDriven.
New to ClickUp? Let's take a look at these 5 top tips for ClickUp beginners crafted by Layla from ProcessDriven, a well-known expert on ClickUp and all things project management.
Layla helps others define business workflows and SOPs using project management software including ClickUp. They cover everything from set-up guides to automation on this channel, you can find Layla here to watch more helpful videos and guides.
Explore Best Tips for ClickUp Beginners
If you’re new to ClickUp and work management software, congratulations on taking this step toward increasing your productivity and staying organized! Starting from zero may seem overwhelming initially, but we promise two things:
- It’s not too hard
- It will be worth it.
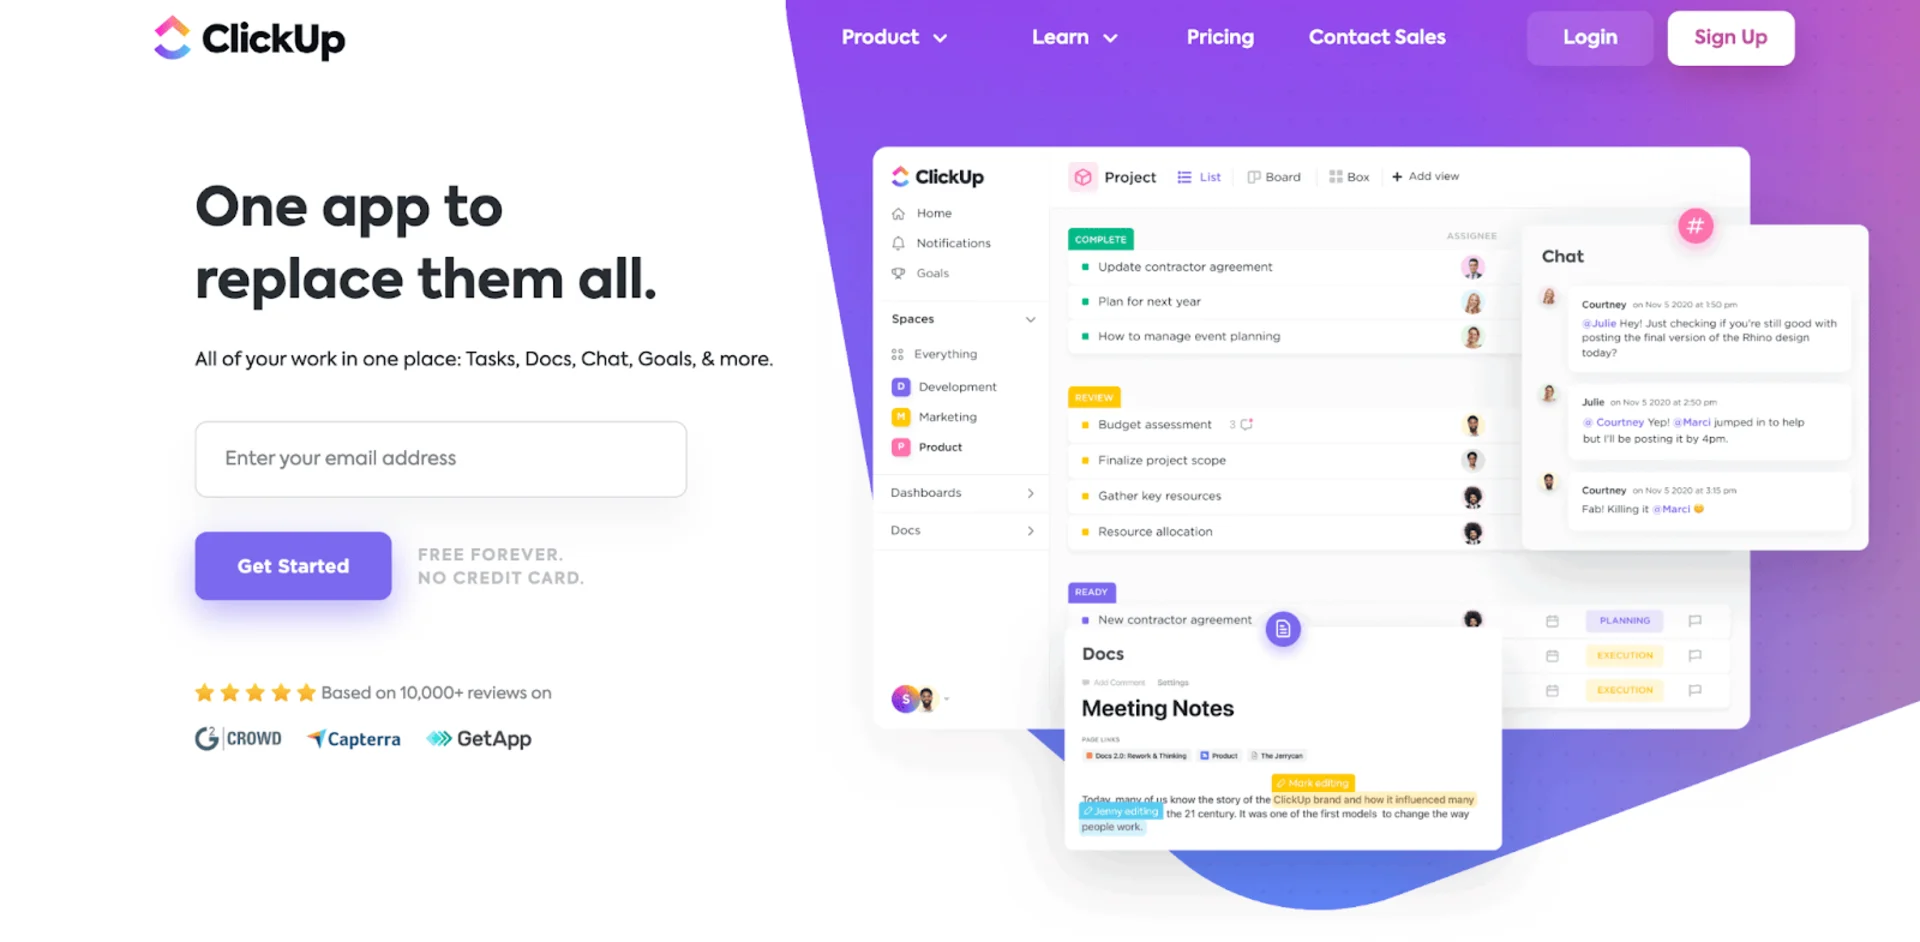
In short, ClickUp is an all-in-one platform that combines many individual workplace productivity tools into a single app, including project management, document collaboration, spreadsheets, automations, chat, time tracking, goals, and more.
This article will walk you through the basics of onboarding and setup and provide additional resources for further learning. We’ve included five of our best beginner tips to start you off on the right foot.
Let’s get started!
Getting Started in ClickUp
If you haven’t created a free ClickUp account yet, do so using our affiliate link. It shows our content creators some love, and if/when you decide to upgrade to a paid plan, you’ll be eligible for a special ProcessDriven discount. Win-win!
Once you’ve verified your account with a code sent to your email or phone, ClickUp will walk you through some basic steps:
- Naming your Workspace
- Customizing your avatar
- Choosing a colour theme
- Selecting the number of people who will use ClickUp
Setup will ask how you plan to use ClickUp (human resources, marketing, personal, etc.) and select useful starting Templates, and if you’d like to import Tasks from software like Asana, Trello, and Basecamp.
That’s it, and you’re done! Now we can dive into customizing your interface.
First Steps for ClickUp Beginners
Working in ClickUp requires understanding its hierarchy. Your Workspace is at the top and contains the highest levels of information. Each Workspace has Spaces, and each Space is a container for Folders, Tasks, Subtasks, Lists, and more.
After the onboarding questions, you’ll face a blank Space. Click the three dots next to the Space avatar at the top of the screen to access the Settings menu. Don’t see it? Hover your cursor!
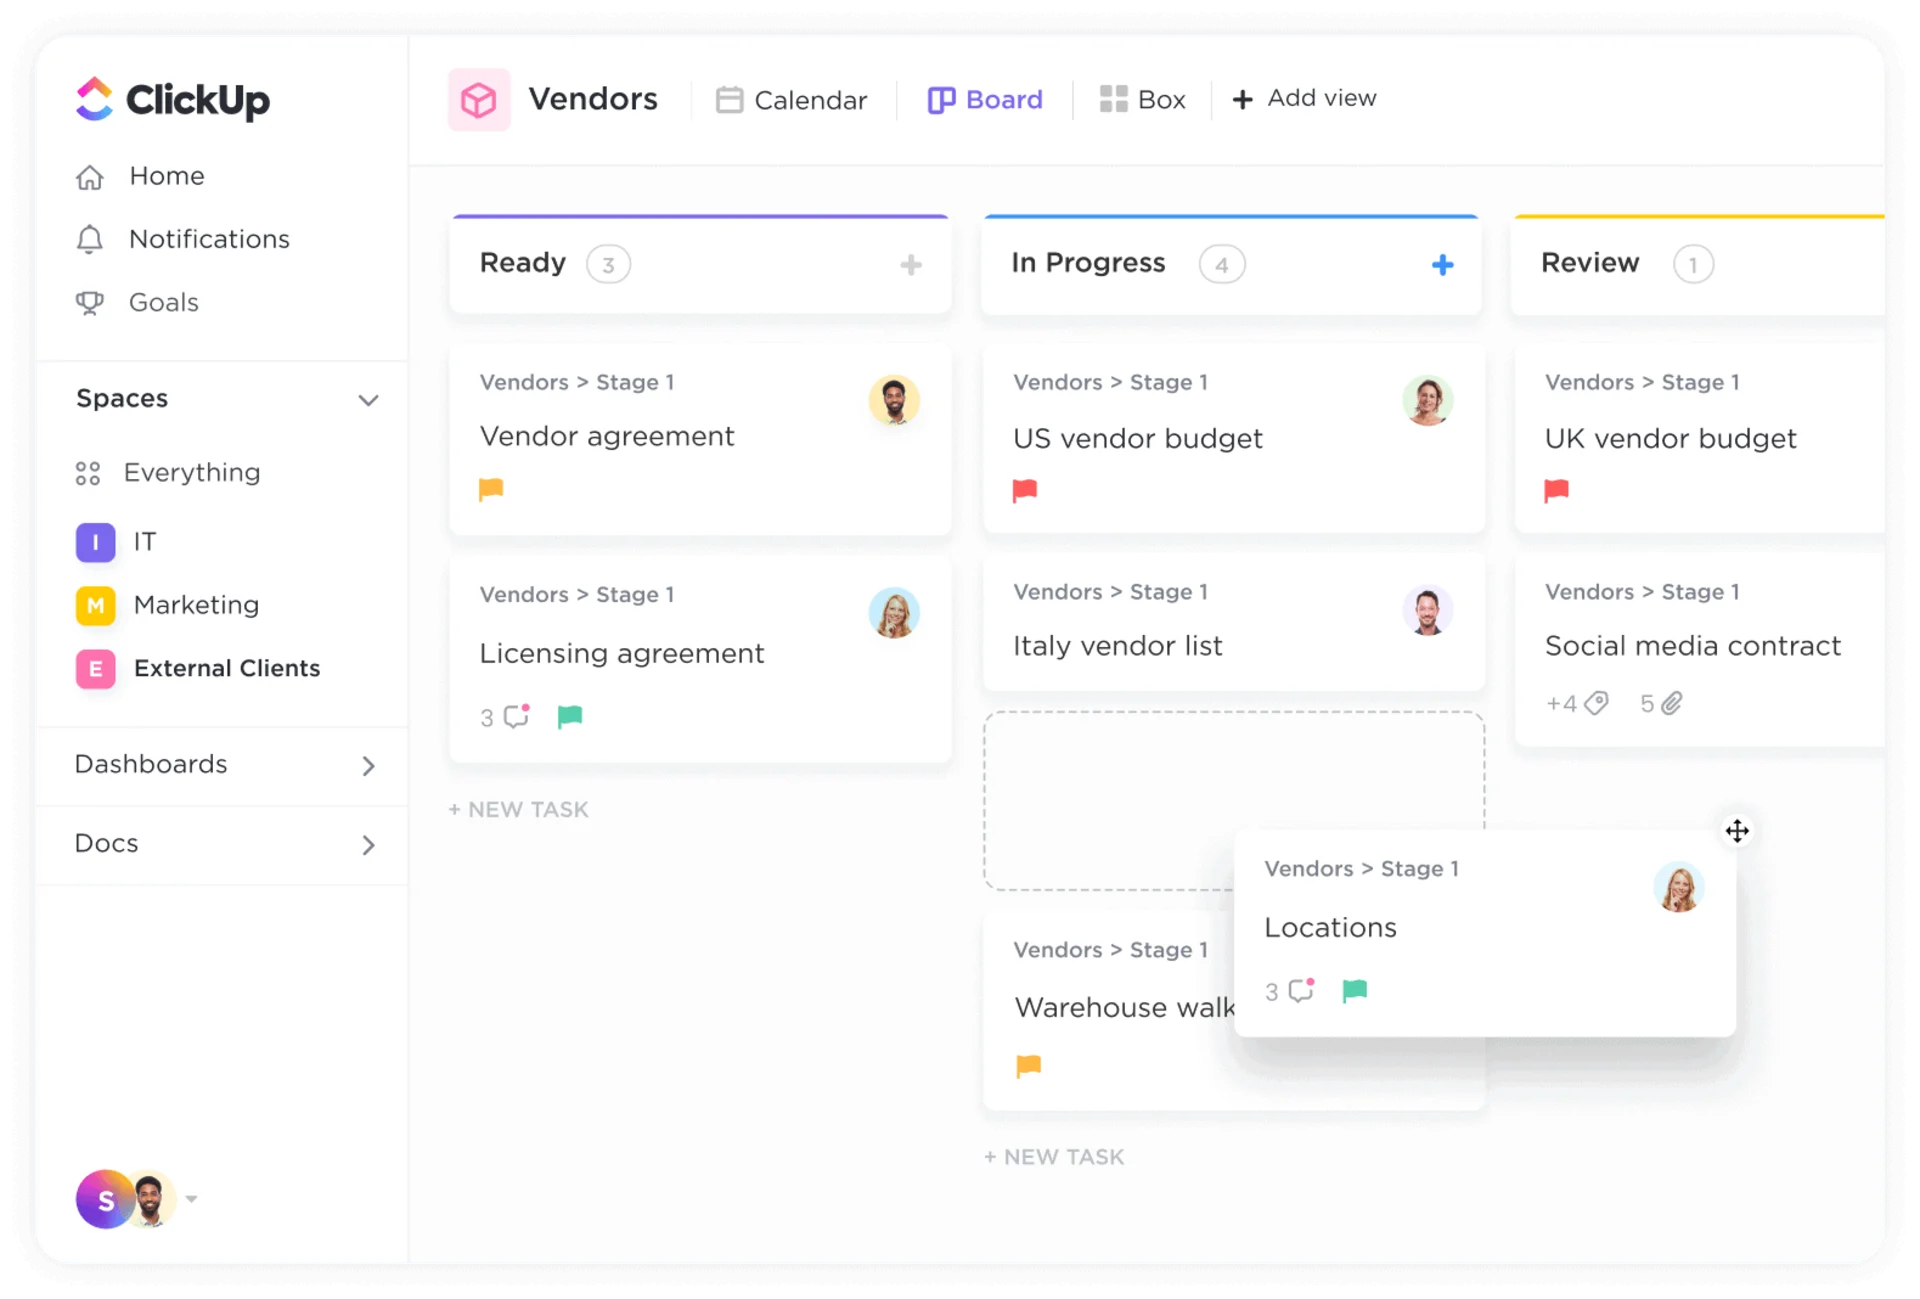
You can change the Space name, colour, and avatar and access Templates and other tools here. What you want to use the Space for will determine how you set it up. Maybe this Space is for marketing, sales, or operations. You can always add more Spaces later.
Unsure what to do next? The Getting Started window at the bottom of the screen has four action items. Hover and click the “Show me how” link to see a brief video tour and tutorial for each.
Pro tip: ClickUp has a lot of self-help resources, including an AI assistant. If you’re ever feeling lost, click the “I’m confused” tab on the far right.
5 ClickUp Setup Tips for Beginners
Here are five tips to easily set up your ClickUp workspace.
1. Personalize your Workspace and Spaces.
ClickUp includes some fantastic customization options.
Add colour and avatars and adjust settings to suit your work style. The more you enjoy working in ClickUp, the more likely you will make it part of your daily flow.
2. ClickUp ClickApps
ClickApp integrations make ClickUp infinitely more powerful.
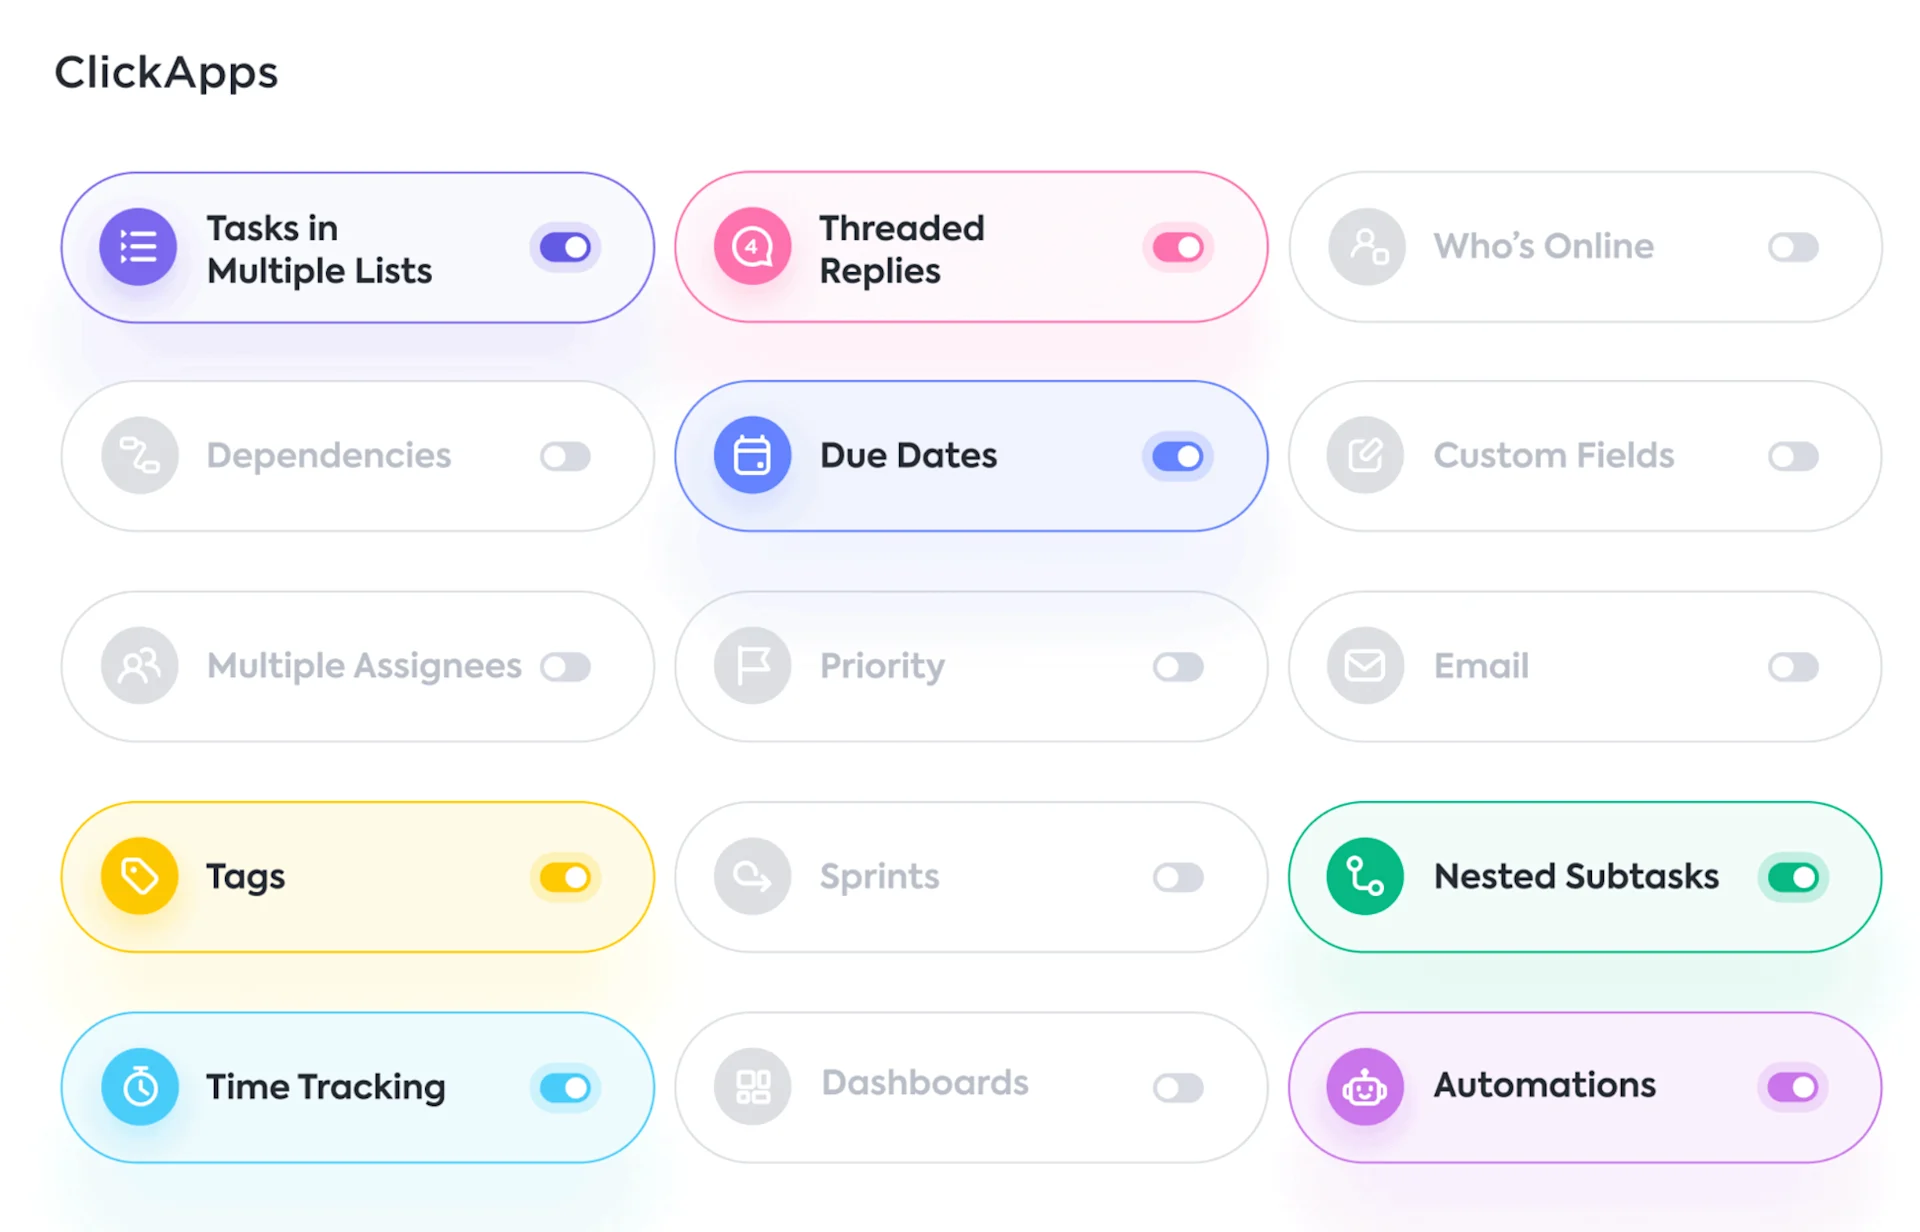
Click on your Workspace avatar (located in the lower-left corner of the screen if you're using ClickUp 2.0 or the top right corner if you're using ClickUp 3.0) and select ClickApps. There are many Apps that you can turn on or off, such as Zoom, Email, Time Estimates, and Universal Search.
Take a minute to go through them and choose the ones that make sense for your needs.
3. Setup Notifications
It’s a good idea to visit Notifications Settings and determine what you want to be notified about, when, and how.
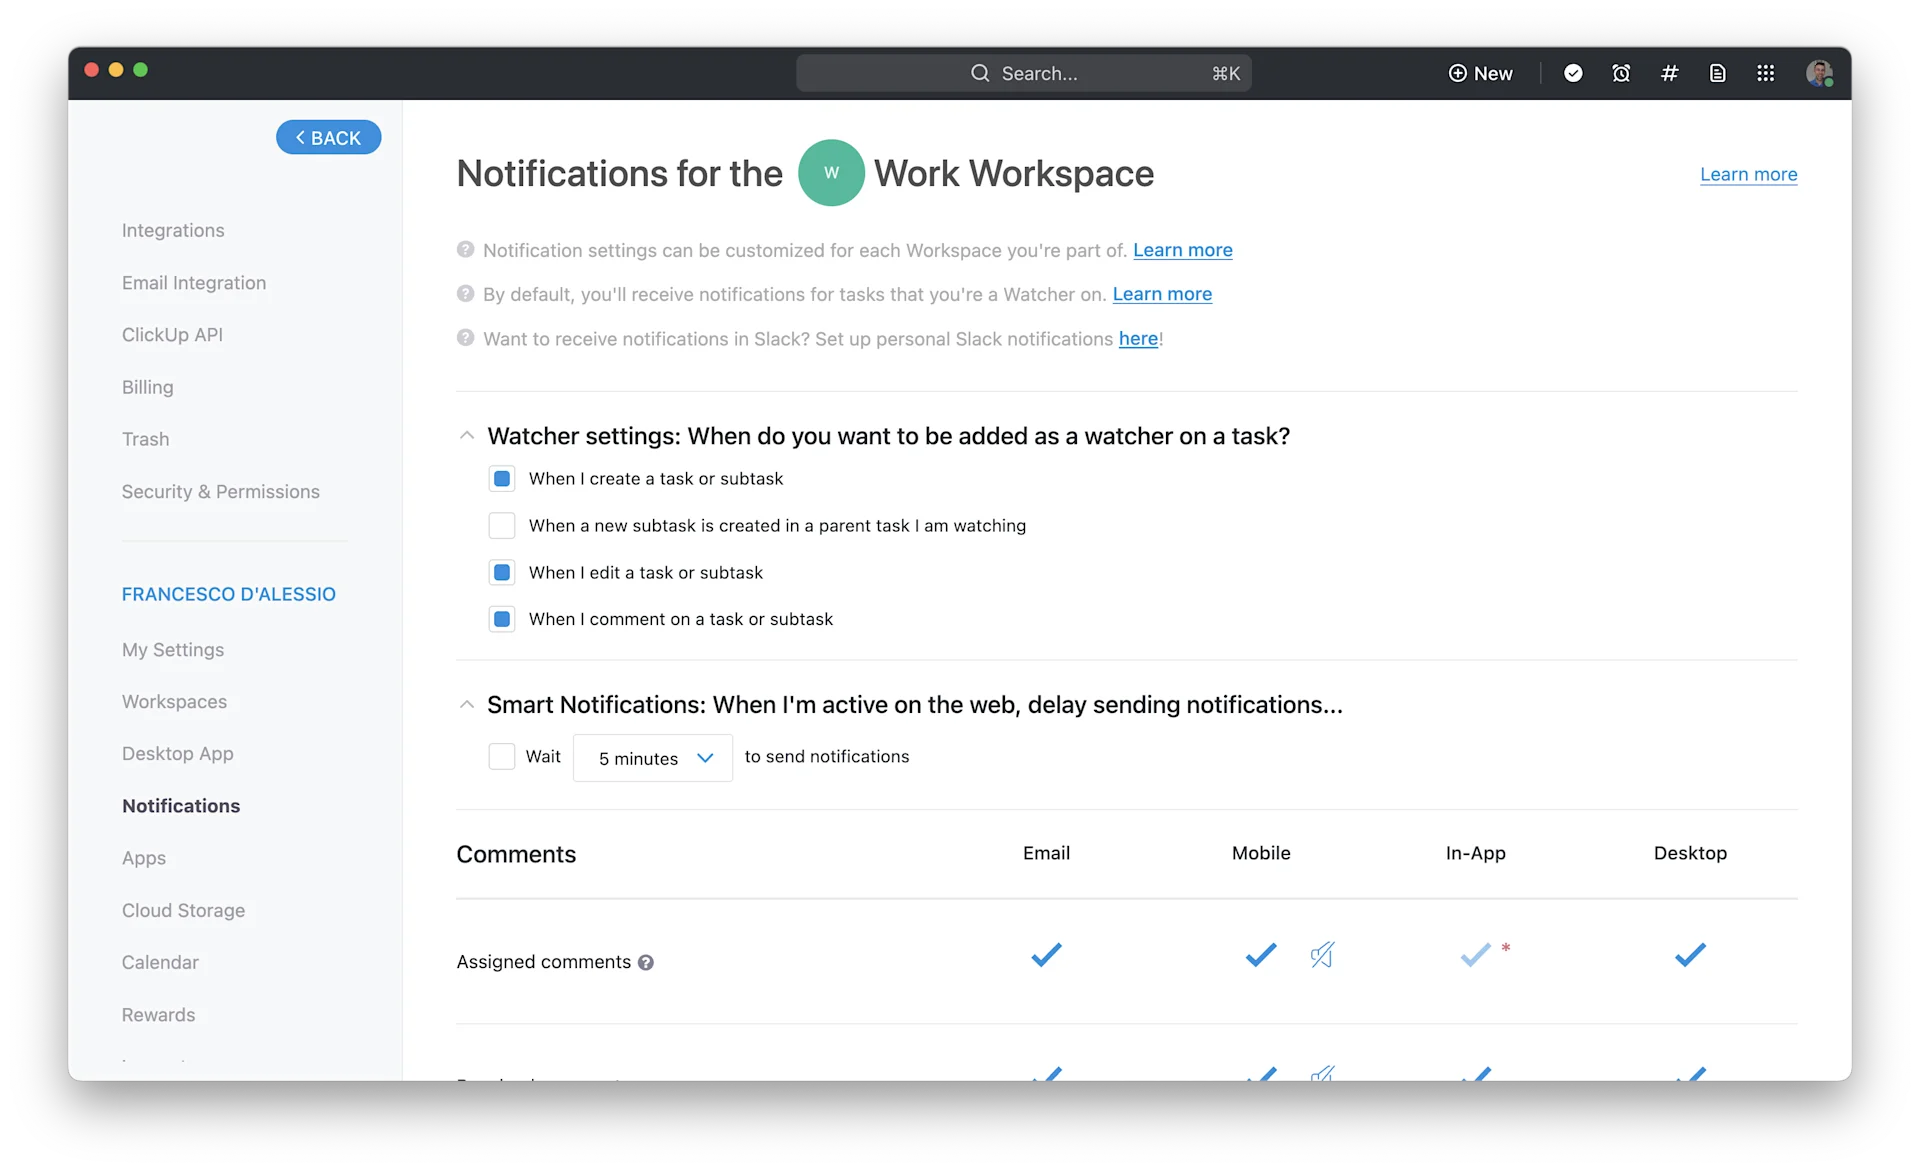
Click Notifications in the side navigation pane, locate the three dots on the menu bar, or use the Workspace Settings menu. There are many settings, so if you’re getting too many or too few notifications, make adjustments here.
4. Add to Favorites
Using Favorites makes ClickUp navigation a breeze.

Favourites are displayed in the left sidebar, or you can pin them to the top of your Workspace for easy visibility. You can favourite any of these features:
- Dashboards
- Views
- Spaces
- Folders
- Lists
- Tasks
- Docs
- Pages
- Sprints
5. Invite Team Members
ClickUp is built with collaboration in mind. Click the Invite button at the top of the screen to add new people via email.
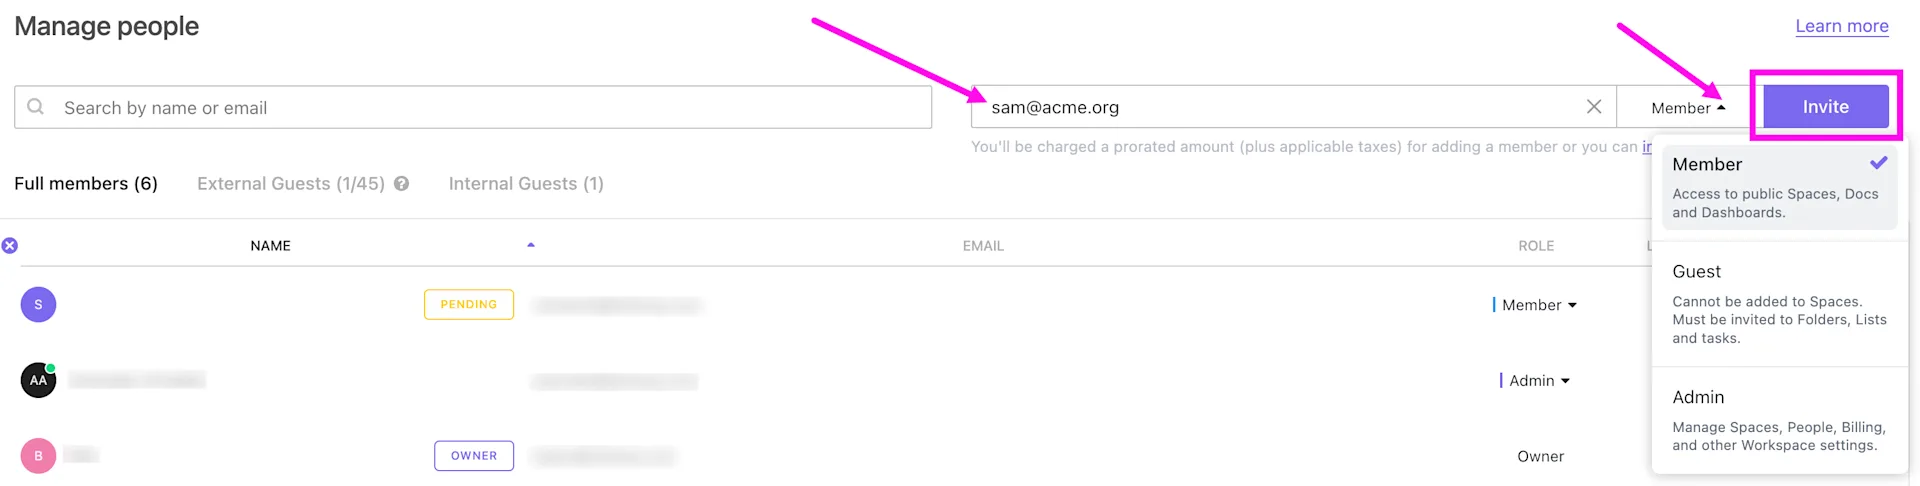
You can set their member level with the invitation. You can manage users from the People section of the Workspace settings, and once added, define your teams with Teams, found just below People.
Those are our top tips for brand-new ClickUp users. If you’d like more information on what to do as a ClickUp beginner, see our free resources list:
- Your FIRST HOUR in ClickUp | Create a ClickUp Account, Space Settings & Notifications
- ClickUp Training 101: How to Set Up ClickUp & Build Strong SOPs
- Intro to ClickUp's Structure | Beginner's Guide to the ClickUp Hierarchy
- Where in ClickUp to Start Your Day | Home vs. Inbox vs. Notifications vs...
- 7 ClickUp Setup Mistakes + HOW TO FIX THEM | How to use ClickUp Hierarchy, Views, & more
- How NOT to Setup ClickUp (4 ClickUp Hierarchy Mistakes)
Have only hours instead of months to learn the ClickUp basics? Check out our mini-course, How to ClickUp Until next time, enjoy the process.
Explore More Productivity Apps & Software
From trending reads, trending tools and beyond


Choose from hundreds of productivity tools
View All